Friday, December 27, 2019

3ds Max New Features Sending to Print Studio

3ds Max 2020 Sending to Print Studio

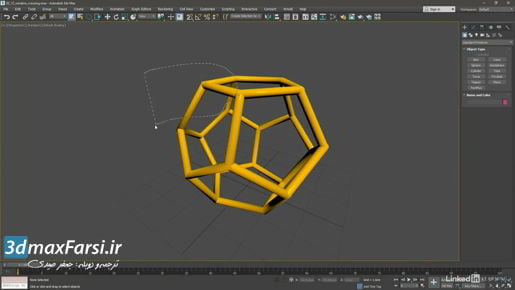
3ds Max New Features Sending to Print Studio From here, we can go ahead and run through the steps of printing our object. Check it for errors. No problems. See if it needs any supports. We can add automatic supports before printing. It's gonna calculate this shape and determine whether or not it needs supports. Looks like our model is pretty straightforward and doesn't require supports. 

3ds Max New Features Visualizing CFD as a gradient

3ds Max 2020 Visualizing CFD as a gradient

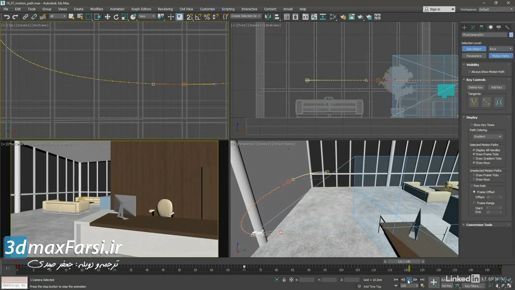
3ds Max New Features Visualizing CFD as a gradient We've got our slice object ready. Select that plane and go into the Create menu. Under AEC Objects, down near the bottom we have Max Creation Graph tools, CFD Visualization and let's go for MCG Visualize CFD Velocity. That's the speed of the fluid. Click on that and then we need to select the data object with that Scene Explorer still open and go over here and click on CFDImportData001. 

3ds Max Visualizing computational fluid dynamics

3ds Max 2020 computational fluid dynamics

3ds Max Visualizing computational fluid dynamics , choose CFD, click CFD Import Data and click anywhere in the Viewport and then right-click to complete that. Currently I'm not seeing any data displayed. We can make sure that the object is there and selected using the scene explorer, open that up. CFD Import Data does exist and we selected it, go to the Modify panel and click the button labelled CSV_File and this is the actual simulation data. And we're taken to that program files directory, be aware that we're making a link to an external document therefore it's a better idea to link to the version in my exercise files or current project. I've got that on the desktop. Scene Assets, CFD, office.csv, open that up. Even after linking to that external file I still can't see anything but I can create an object which will draw arrows to indicate the flow of the fluid. Go back to the Create panel and from the categories choose Max Creation Graph.

3ds Max Importing and replacing from the Asset Library

3ds Max Importing and replacing from the Asset Library

3ds Max Importing and replacing from the Asset Library but we can always of course select it, it's a group, and then use the move tool, position it in the scene, maybe put it in the origin here. Okay, that's cool. We can also replace that object. To do that, we want to have it selected first. And that's a group. And this is a little bit of a special case here, because when we click on a group in the viewport, it selects the group node and all of the members of the group. And if we did a replace with the Asset Library, then every object in here would be replaced with the incoming group, and we'd have a whole mess here. So we want to select only the group node in this case. A little bit tricky. Now, go up to the Scene Explorer. Turn that on, and just only select the Bookcase Group.

3ds Max New Features Using Asset Library filters

3ds Max 2020 Features Using Asset Library filters

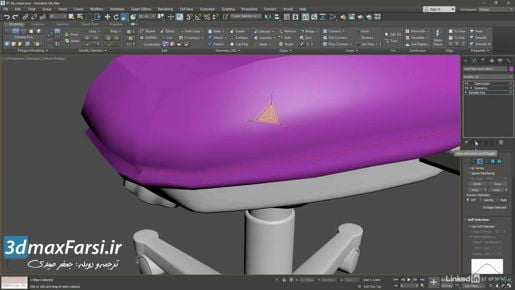
3ds Max New Features Using Asset Library filters .let's enable one of the filters. I'll turn on the tools filter. And nothing happened immediately. And that's because these files all had the word zip somewhere in their file name. This tool is not just searching for the extension. It's searching for the entire file name. If I then right click on that wrench and disable zip, now you would expect that it would hide all of the zip files because our filters are on and zip is not an allowed file type currently. Well, we do see these max files. And that's because we have another set of filters over here that is also in effect. And if a file has a string within it that matches any of these filters, then it will be displayed if it's enabled for that filter, or if the filters are completely turned off. Alright, so this one, the 3d, is turned off right now. But, again, if we right click we can see all the available file types.

3ds Max New Features Saving a model with Game Exporter

3ds Max 2020 : Saving a model with Game Exporter

3ds Max New Features Saving a model with Game Exporter I don't need to in this case so I'm going to disable that. Close the dialogue. We do need to set an export directory. Click on the browse button and now you need to navigate to where you want to save to. I want to save into my current projects export folder and that just happens to be where I am now. Unfortunately, there is no way for me to know where I am currently. There is no actual display path on the screen here, but you can navigate up and down through the tree to figure out where you're at.

3ds Max New Features Accessing the Creative Market

3ds Max New Features Accessing the Creative Market

3ds Max New Features Accessing the Creative Market Select that file and click open and click OK in the PBX import dialogue. And the object is loaded, we're not seeing the texture here, we'll need to go into material editor for that I'll use the keyboard shortcut "M". Here is the material, I'll drag over into the view, choose instance, double click it to load it here, and then up here at the tool bar, click show shaded material in viewport. And now we should see our texture and there it is. Okay, our FBX came in okay. I'd like to point out one last thing though, which is that the material here, the bitmap, was re-pathed. So when we opened up this FBX inside of 3DX Max, it unpacked the textures from the FBX file and saved them out.