Friday, December 27, 2019

3ds Max Rendering A360 cloud rendering

3ds Max Rendering A360 cloud rendering

3ds Max Rendering A360 cloud rendering For the image size I'm going to choose a custom size, and I'll make it 1280 x 720, using a 16 x 9 aspect ratio. We'll use advanced exposure, which means we can change the exposure after the rendering is finished. And the file format we'll choose PNG. We can test the scene compatibility at this point, and see if they're any errors. And we did get a few errors, there's a shape object that's not renderable, that's not a problem. We'll see that the RGB multiplying node that's in the shading network, is not supported.

3ds Max Rendering Switching renderers scene converter

3ds Max Rendering Switching renderers scene converter

3ds Max Rendering Switching renderers scene converter It might take a moment for it to render all of the previews, but there you have it. Materials have all been converted. Additionally, the exposure has been converted. We can check in on that, Rendering Exposure Control. The MR Physical sun and sky has been replaced by the ART Physical sun and sky. We're now using Physical Camera Exposure Control, whereas a minute ago we were using MR Photographic Exposure Control, and for me today I'm seeing that the exposure value did not transfer over, unfortunately. It's supposed to be a value of 14, so I will enter that in now. The tone curve pretty much came out the way I wanted it.

3ds Max Materials and Mapping Placing maps with Texture Object Mask

3ds Max Materials and Mapping Placing maps with Texture Object Mask


3ds Max Materials and Mapping Placing maps with Texture Object Mask Our draft quality ART rendering is complete. Let's compare it to the Mental Ray draft quality rendering. I've got that in a cloned rendered frame window here. We can see that the sun and sky plugin looks drastically different, and, also, our materials have changed significantly. It looks pretty good. I mean this is a good rendering, but it has changed somewhat from what we had, namely, we're not really getting the shininess that we saw in the Mental Ray Rendering, but that's to be expected that we would need to go in and make some adjustments. For example, I would want to add subsurface scattering to the cactus here. The Scene Converter is a useful tool, but it's just the beginning of getting a scene tweaked up in order to look good in a target renderer, in this case ART. Let's take a quick look at the high-quality renders of these that I've prepared. First is the Mental Ray, and then the default scene converted version rendered in ART.

3ds Max Mapping vector text decals with TextMap

3ds Max Materials and Mapping Applying vector text decals TextMap

3ds Max Materials and Mapping Applying vector text decals with TextMap  And we also of course need a Texture Object Mask map. And here it is, Texture Object Mask, drag that over. Assign it to the Diffuse Color of the material. And then double-click on that map, and we get its parameters. We need to choose the control object. Click on the button that says "None", and now minimize the Material Editor and click on the plane primitive in the scene. And now it's assigned. And you saw that the color changed subtly here. And if we select the object and use the Move tool to position it, we may or may not see a preview.

3ds Max Animation Skin Voxel and Heat Map solvers

3ds Max Animation Skin Voxel and Heat Map solvers

3ds Max Animation Skin Voxel and Heat Map solvers When I click hips, I only select that bone. I want to select all of its children as well. Go up to the Select menu, and enable Select Children. That is going to stay on from now on, so if I click on something, all of its children will be selected. Even the next time I open this dialogue. I'll click on hips, select all its children, and then click Select. Now all the bones have been added to the list here. We can test out the initial skinning with envelopes. To make it easier for us to do that, let's just freeze the character mesh. It's still selected, I can right-click and get the quad menu and choose Freeze Selection. And now when I hover my mouse over the bones, they will light up with pre-selection highlighting. I'll go down here and hover over the femur to select that joint at the knee. And then with that joint selected, press the E key on the keyboard to get the rotate tool. And rotating in local reference coordinate system. And as you can see, we're having some skinning issue with the vertices on the left leg being attached to the bone on the right leg. Again, that's with the default envelope skinning. Let's undo that with Ctrl + Z. I want to select the mesh again.
3ds Max Animation Using Buffer Curves

3ds Max Animation Using Buffer Curves

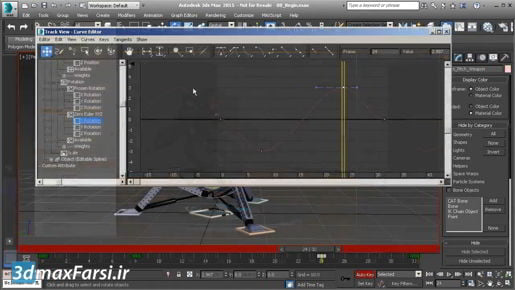
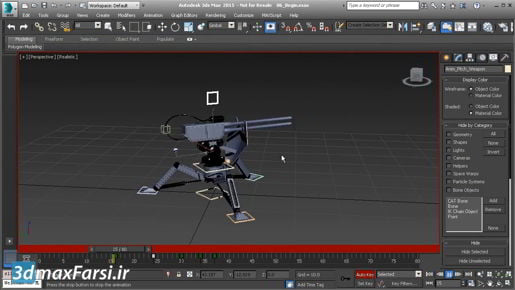
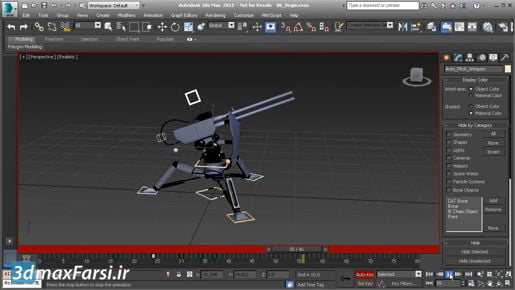
3ds Max Animation Using Buffer Curves Go back into the buffer curves tool once again. Then we have one more button here, revert to buffer curves. We'll make our edit again with control and drag. Revert to buffer curves erases all changes since the last commit. It's kind of like an undo all history. So, I can make multiple edits, hold down control and drag, and maybe do a few different things here, and when I click this button, we will go not one step back, but as many step backs as necessary to take us back to shape of the curve of the last time we made a snapshot or the last time that we entered the buffer curves tool All right, that's a basic introduction to buffer curves, an analysis tool for animation.

3ds Max Animation Introducing keys-only tools

3ds Max Animation Introducing keys-only tools

3ds Max Animation Introducing keys-only tools I'll hit Control + Z once again to undo that. The shifted function for space keys evenly will move the keys to different values to achieve even spacing between the first and last keys. Hold down Shift and click and now the change in values between adjacent keys is equal. We can make that a little bit easier to see by making them linear tangents and we get almost a straight line there, not quite, but if we wanted a perfectly straight line we could of course, once again, use space keys evenly without the Shift and now we have an almost straight line. It's never gonna be perfect because we're quantizing the frames here. Okay, I'll undo all of that with Control + Z and back to our original curve, we're moving on to relax and that, once again, only affects three or more contiguous selected keys. When you click on relax, it adjust the key values to move them towards a linear transition between the first and last selected keys. They're trying to go into a straight line. And again, we're only adjusting values here and not timing. I'll undo that with Control + Z a bunch of times. Take us back to here in our history.